

How to Create a Lead Magnet Checklist
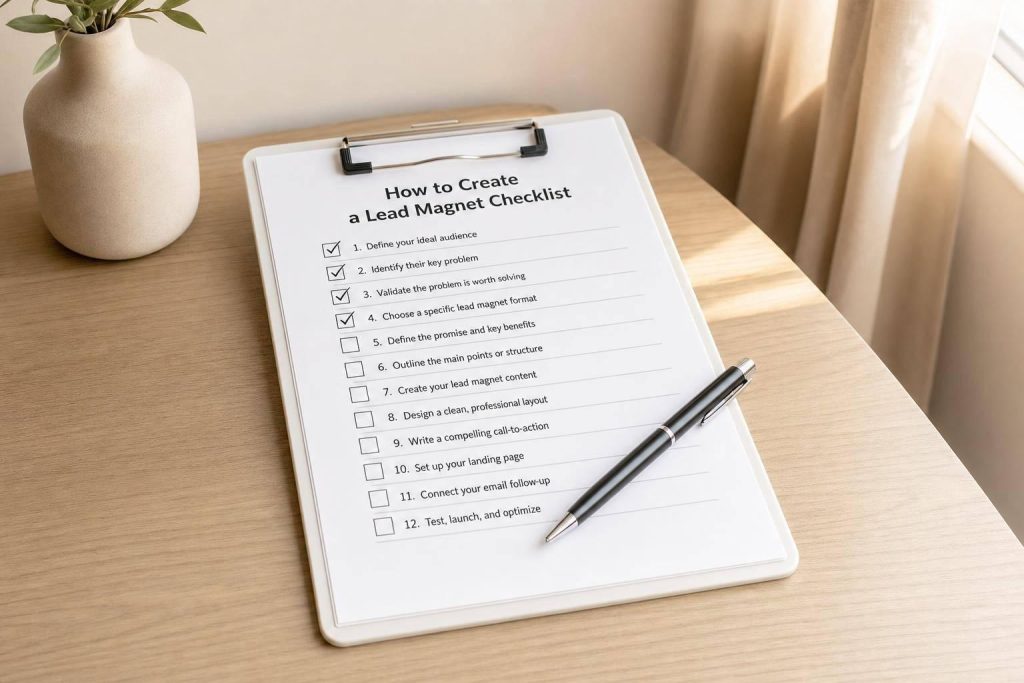
A lead magnet checklist works best when it helps one person get one small result fast. If you keep it short, tie it to your paid offer, and make the opt-in page easy to use, it can convert well. The article points to checklist conversion rates around 41% on average, with many B2B checklist pages landing in the 20% to 40% range when the fit is tight.
Here’s the core idea in plain English: I’d start with one audience, pick one clear outcome, write 8 to 20 action items, gate it behind a short form, and then track opt-ins, access rate, and next-step conversions for 30 days before changing anything.
What matters most:
- Pick one outcome: not “improve marketing,” but something narrow and time-bound
- Pick one audience: not “business owners,” but a clear group with one problem
- Write action items: each line should tell the reader to do one thing
- Keep it short: aim for a checklist people can finish in 30 to 45 minutes
- Use a simple form: short forms often beat long ones; the article cites 13.4% for single-field forms vs. 3.6% for nine-field forms
- Track results: if the page is under 15% after 30 days and 200+ visitors, I’d review the offer or page first
This article shows how to plan, write, format, gate, publish, and improve a checklist (one of many lead magnet ideas to drive signups) so it brings in leads and leads into the next step.
How to Create a 3-Page Checklist Lead Generation Magnet w/ Canva (Step by Step Guide)

sbb-itb-b3a7196
Define the checklist goal and audience
Before you write the checklist, get clear on two things: the outcome and the audience. If those are fuzzy, the checklist will feel fuzzy too. Every item should help one kind of reader get one clear result.
Pick one concrete outcome
Start with your offer, then work backward from the first problem a buyer needs to solve. Ask yourself: What’s the first practical problem someone needs to solve before they’d consider my offer? That problem becomes the outcome of your checklist.
A good outcome is narrow, time-bound, and tied to a clear result. “Improve your marketing” is too broad. “Launch your first Google Ads campaign in 5 days” is specific enough to feel useful and doable. And that matters. Interactive checklist-style lead magnets can work very well when they stay focused; in one analysis, they converted at 41% on average.
Here’s a simple gut check: if the outcome leads in several directions, it’s too broad. The right outcome should point to one next step.
Match the checklist to a specific audience
Once the outcome is set, tighten the audience so the wording matches their day-to-day situation. Define exactly who the checklist is for. Not “small business owners” or “marketers,” but something more specific, like solo consultants who need a repeatable client onboarding process or U.S.-based home service companies spending under $2,000/month on ads.
This is where voice-of-customer research helps. Pull wording from sales calls, support tickets, comments, and DMs. Those sources give you the exact phrases people use to describe what’s going wrong, and that’s a lot better than guessing. For example, a checklist like How to Price Your Web Development Services speaks straight to freelance developers and agency owners dealing with a specific, repeat problem.
You’ll also want to match the checklist depth to the buyer stage. Someone who’s just noticing the problem usually needs a bit of education and a few quick wins. Someone closer to making a choice needs action steps and a clear sense of what to do next. That kind of focus helps the checklist qualify leads instead of pulling in generic sign-ups.
Next, turn that outcome into short, actionable checklist items. Following proven steps for effective lead magnets ensures your content remains focused on conversion.
Write the checklist content step by step
Once your outcome and audience are set, it’s time to put words on the page. A good lead magnet checklist uses a simple structure: a clear title, a short introduction, 8 to 20 checklist items, and short notes only when a step needs a bit more context. That’s the framework that turns one promised outcome into a draft people can use.
Write a clear title and short introduction
Start with the title. It should name the outcome, not just the format. Marketing Checklist is too broad. Pre-Launch Email Checklist for Solo Business Owners tells the reader what they’ll get and who it’s for. If a number helps make it clearer, use one, like 12-Point Website Launch Checklist.
Then write a short introduction of 2 to 4 sentences max. Keep it tight. Answer these three points:
- Who is this for?
- When should they use it?
- What will they have when they’re done?
For example:
"Use this checklist before publishing a landing page. It helps marketers and solo business owners catch missed details fast."
That’s enough. The reader should know in a few seconds if the checklist fits what they need.
Turn each item into a single action
Each line in your checklist should tell the reader to do one specific thing. Not a broad reminder. Not a topic label. Not a loose idea.
Start with a direct action verb like Review, Confirm, Publish, Test, Send, Update, or Check.
So instead of Make sure the landing page looks good, write something like Review the headline for clarity or Confirm the form submits correctly. One action per line makes the next move obvious. It also makes the checklist easier to scan and check off.
Add a one-line note only if the step needs extra context. For example, you might write Confirm image sizes, then add a note like: Use 1,200 x 628 px for social sharing graphics. That kind of note clears up doubt without slowing the reader down. If you include dates, numbers, or measurements, use U.S. formatting.
Keep the checklist short enough to finish
If the checklist feels long, people are less likely to use it. Aim for something a reader can get through in about 30 to 45 minutes. That’s long enough to be useful, but short enough to feel doable.
If your draft starts creeping past 20 items, that usually means it needs editing. Cut anything that doesn’t support the main result. Background theory, extra explanation, and nice-to-know steps can live somewhere else.
If you still need more than 20 steps, split the draft into two checklists. Shorter lists tend to convert better because they feel easier to finish.
You can also create a checklist lead magnet with AI to speed up the drafting process. Next, move the draft into a readable format and gated page.
Design, gate, and publish the checklist
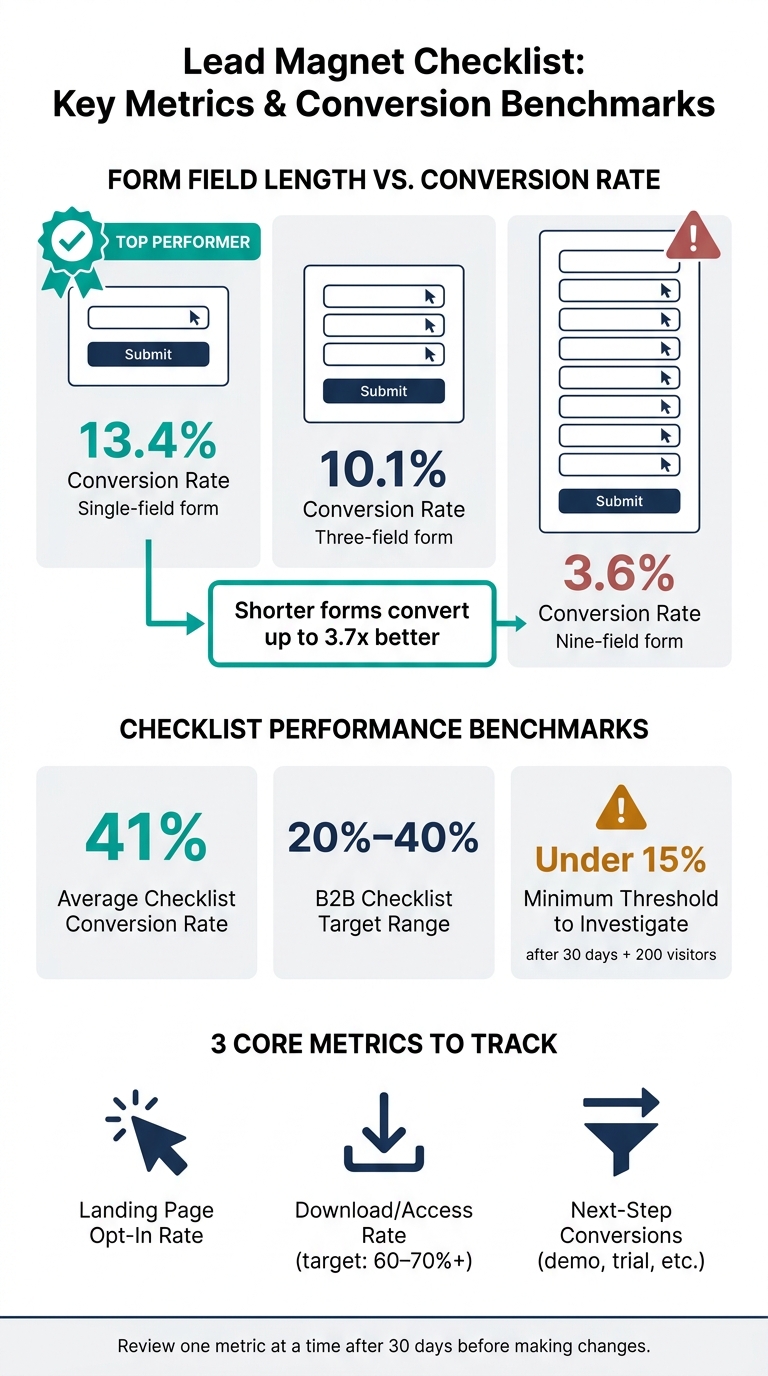
Lead Magnet Checklist: Key Metrics & Conversion Benchmarks
Once the checklist is written, turn it into something people can scan in seconds and use without friction. Then pair it with a simple opt-in page that keeps the focus on one thing: getting the checklist.
Format the checklist for readability
If the layout feels messy or hard to read on a phone, people will bail before they finish it. Keep it simple with a one-column layout, clear checkbox styling, plenty of space between items, and short section labels that split the checklist into small groups.
Make the body text large enough to read on mobile without pinching and zooming. If you offer the checklist as a PDF, use US Letter size (8.5 × 11 inches) and leave margins that print cleanly. A clean sans-serif font works best. Long chunks of text between checklist items usually slow people down, so cut them.
If you include a PDF, make sure it has:
- Proper tags
- A logical reading order
- Meaningful headings
- Alt text for images
Test the page on both desktop and mobile before you publish. Spacing, line length, and button placement can look fine on one screen and feel off on another.
When the layout is clean, put the checklist behind a simple form.
Set up a gated page and lead capture flow
The gated page should do one job well: show visitors the checklist is worth trading their email address for. Keep the page tightly focused on that action, and remove navigation that could pull people away.
Add a clear benefit statement above the form. One or two lines is enough. Explain what the checklist helps with, who it’s for, how fast they’ll get it, and what happens after they submit the form.
Short forms tend to work better. Single-field forms average 13.4%, three-field forms average 10.1%, and nine-field forms average 3.6%. For most checklist lead magnets, a short form with first name and email is enough.
For U.S. readers, add a short privacy note near the submit button, such as "We respect your privacy. Unsubscribe anytime." Link that note to your privacy policy.
After someone submits the form, send the checklist right away. That can be a direct download or a link on the thank-you page. Either way, make the next step obvious so people aren’t left wondering what to do next.
If speed matters, it helps to use one tool for the page, form, and delivery.
Use Subpage.co to build and publish faster
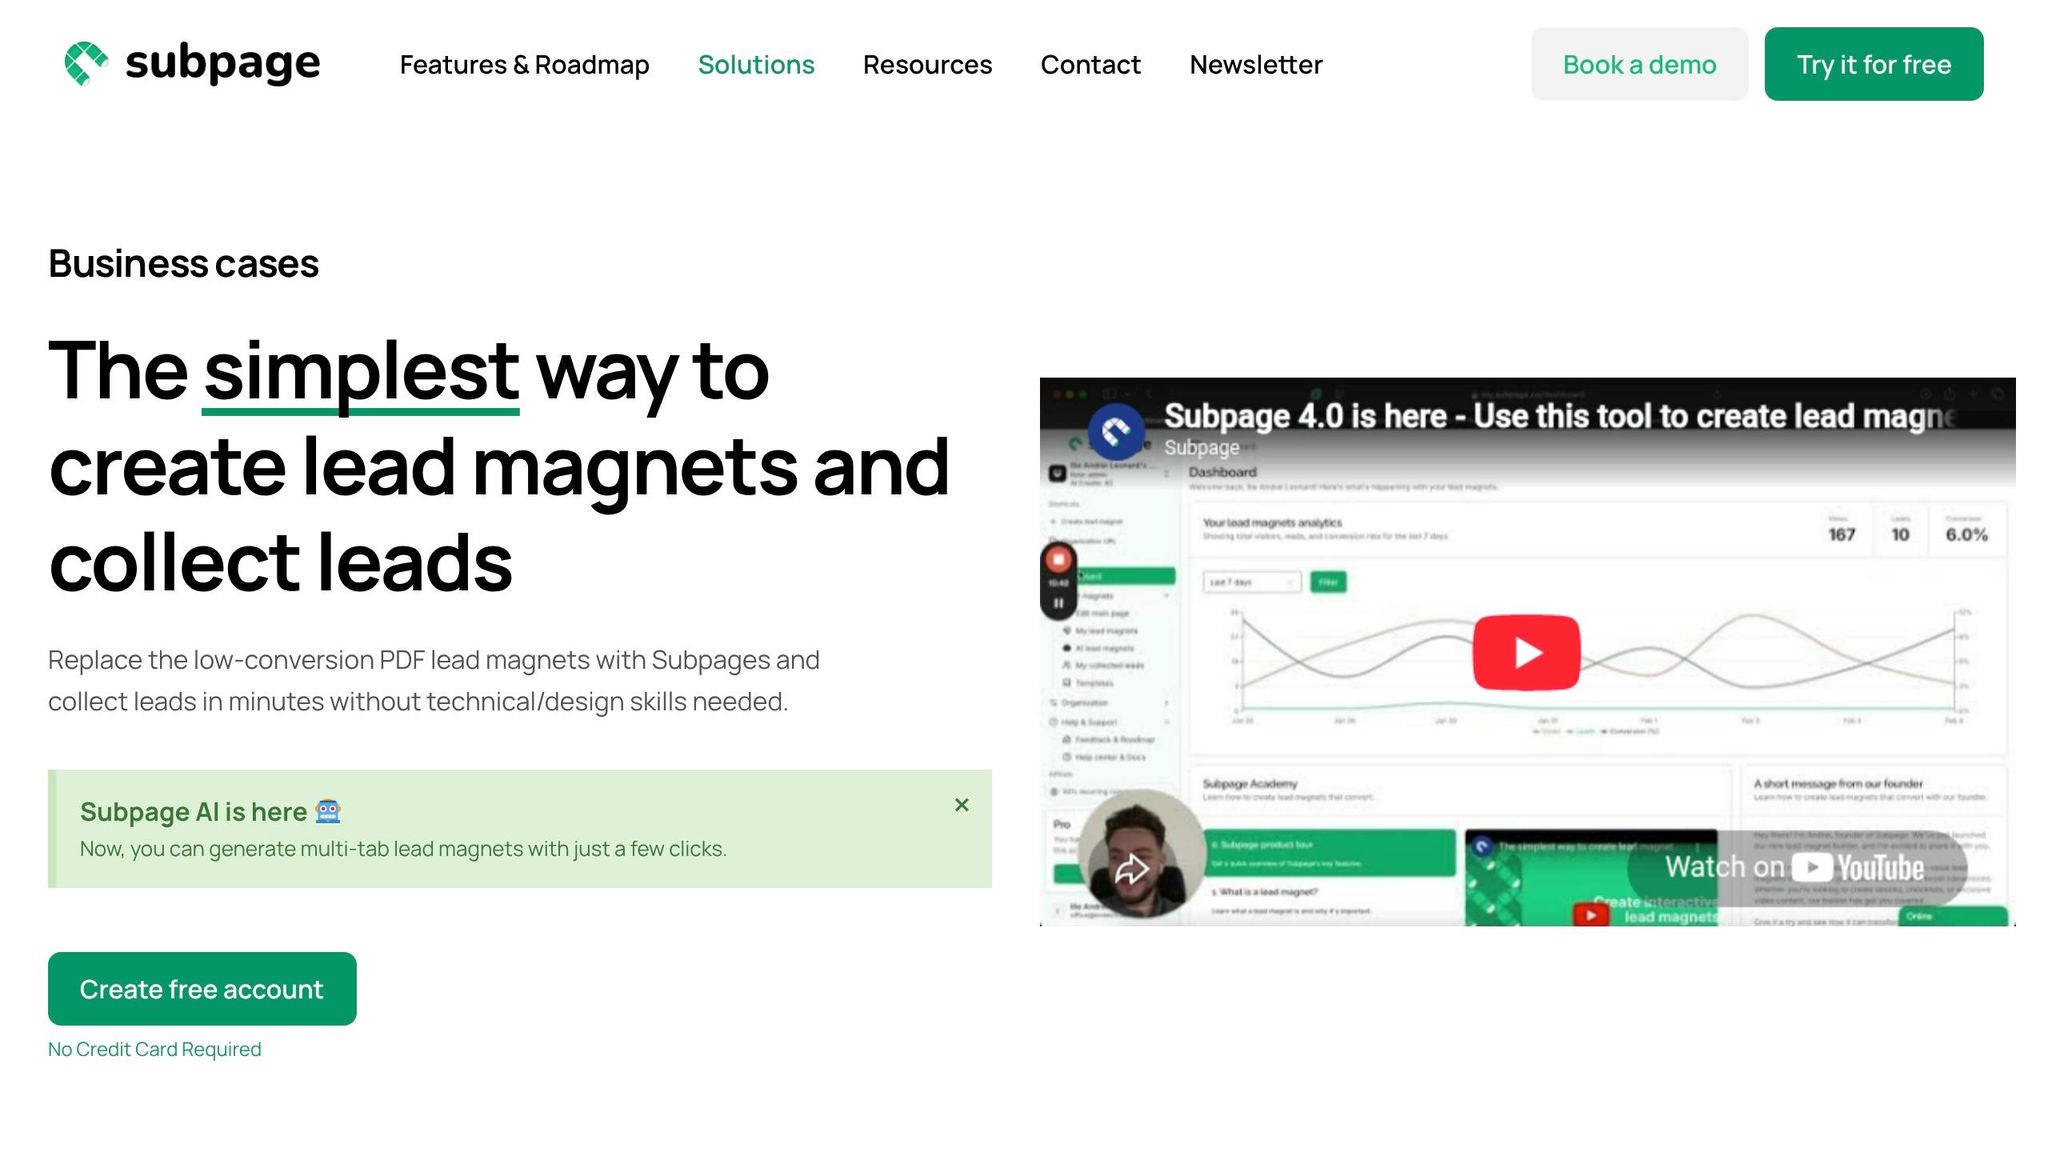
Use Subpage.co to publish the checklist faster with a simple editor, lead collection, analytics, and integrations. You can use full-page, partial-page, or block-level gating to control how much of the checklist people see before opting in.
Partial gating can work well here. Show the first few checklist items before the form appears, and readers get a quick preview of what they’ll get.
Track results and improve the checklist
Once your checklist and delivery flow are live, the next job is simple: watch the numbers and fix friction. If you’re not tracking performance, you’re just making educated guesses.
Measure opt-ins, downloads, and next-step conversions
Track three core metrics: visitors, opt-ins, and next-step actions. Start with the landing page, then look at delivery, then what happens after someone gets the checklist.
Your landing page conversion rate – opt-ins ÷ unique visitors × 100 – is the first number to watch. In many U.S. B2B cases, a well-targeted checklist often converts in the 20–40% range. If you’re still under about 15% after 30 days and 200+ visitors, the offer or page probably needs work.
Then check your download/access rate: the share of people who opted in and then actually clicked to get the checklist. If that number falls below about 60–70%, review the delivery email and confirmation page. Confusing copy, weak instructions, or a technical problem can drag this down fast.
Last, track next-step conversions. How many checklist users book a demo, start a trial, or take the next step you want? That number tells you whether the checklist is pulling in the right people and setting up the offer well.
Tag each subscriber by checklist source so you can compare performance with other lead magnets. That gives you a cleaner view of what happens later in the funnel.
Refine the title, length, and form based on data
Let the checklist run for about 30 days before you start changing things. After that, review one metric at a time.
If opt-ins are low, start with the headline. A title like "Email Marketing Checklist" is easy to skip. "Email Marketing Checklist to Double Your Open Rates in 30 Days" gives people a much clearer reason to stop and pay attention.
If downloads are weak, inspect the delivery email. Check whether it lands in Promotions or spam. Make sure the download link is easy to spot. And make sure the thank-you page repeats the access steps so people aren’t left wondering what to do next.
If next-step conversions are low, look at the handoff. Does the checklist lead naturally into your offer, or does the shift feel random? If the checklist solves one problem but your offer jumps to something else, people may not move forward.
Test one form change at a time, and keep the current version as your baseline.
Conclusion: Build a checklist that is specific, usable, and measurable
A checklist that converts well doesn’t need to be complicated. It needs to stay focused. It should solve one problem for one audience, give people steps they can actually use, and sit behind a low-friction opt-in page.
After launch, a simple 30-day review cycle helps you spot what to fix: opt-in rate, download/access rate, and next-step conversions. Change one variable at a time, measure what happens, and keep going. Over time, that process can turn a decent checklist into a steady lead source.
FAQs
How do I choose the right checklist topic?
Choose your checklist topic around one specific, urgent problem your audience wants fixed now.
Start by looking at sales calls, support tickets, and conversations in niche communities. You’re looking for the same pain points showing up again and again. That repeat pattern is your clue.
Keep the topic narrow, practical, and tied to a fast win people can use right away. After you’ve picked the topic, Subpage can help you design the checklist and collect leads.
Should I gate the checklist or offer it free?
Keep the gate light. Ask for an email to collect leads, and think about using a partial gate so people can preview part of the checklist before they opt in.
For top-of-funnel traffic, the goal is simple: match the gate and the friction to the checklist’s fast, action-focused promise. If the checklist feels quick and easy, the signup step should feel the same. That usually helps improve conversions.
What if my checklist gets leads but no sales?
If your checklist brings in leads but not sales, there’s probably a disconnect somewhere in your lead-to-customer funnel.
Start with the lead magnet itself. It needs to attract the right people, not just more people. It also needs to match what they need right now. If there’s a mismatch, you may get downloads from people who were curious, but not ready to buy.
Track your lead-to-customer conversion rate. In most cases, that lands between 2% and 7%. That number gives you a clear reality check. If you’re below that range, your funnel may need work after the opt-in, not just at the top.
Automated email sequences can help move leads closer to a sale. The key is simple: your follow-up should speak directly to the pain points your checklist helped solve. If the checklist promised help with one problem, the emails should keep that thread going instead of shifting to something else.
Related Blog Posts
